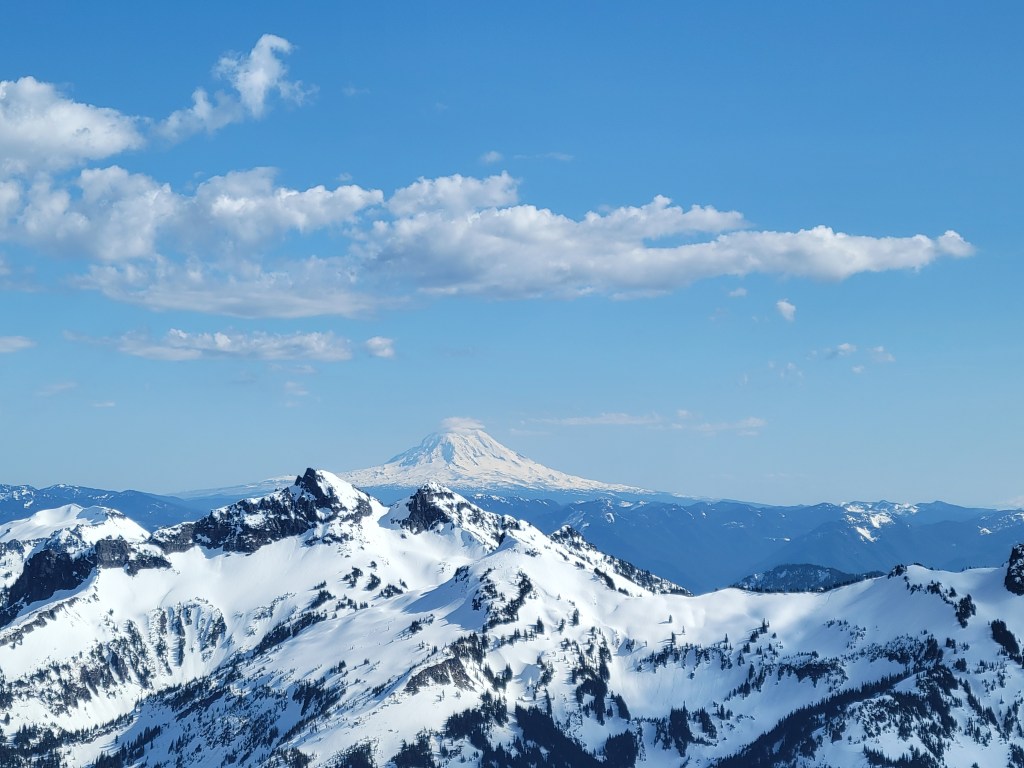
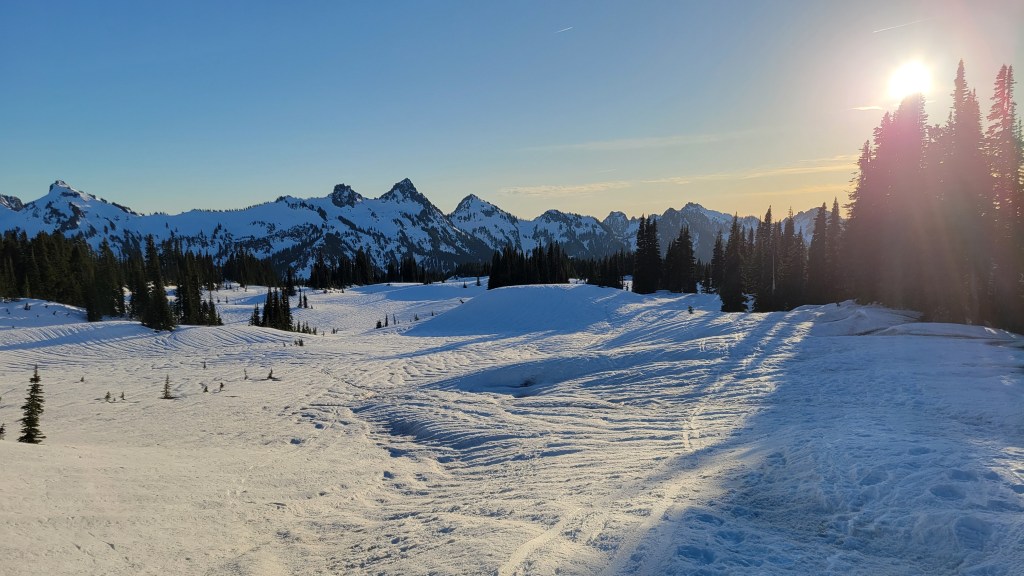
Mount Rainier National Park is a phenomenal destination year-round, but it’s especially underrated in winter. If you catch Paradise on a clear, bluebird day with views of the peak throughout your hike, it can be absolutely magnificent — quiet, expansive, and surprisingly accessible for snowshoeing.
This guide focuses on the best snowshoeing options from Paradise, how to time them correctly, and how to choose routes based on your goals, energy level, and the day’s conditions. Think of this as a practical field guide rather than a single trail write-up.
First: Winter Logistics You Need to Know
Access & Gates (Very Important)
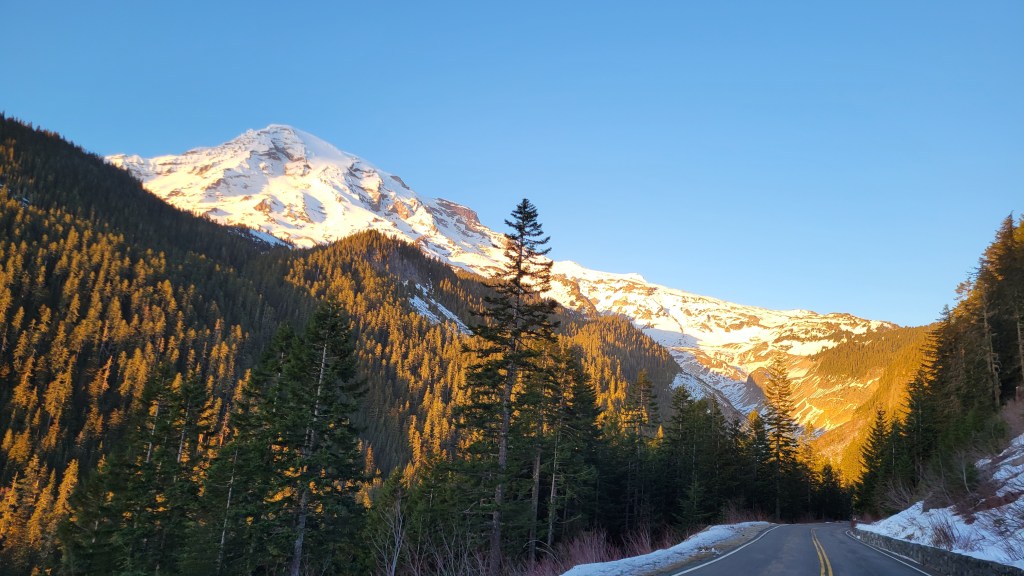
- In winter, the primary plowed entrance is via Longmire
- The Longmire park entrance itself is open 24 hours, but a gate closes farther up the road
- That gate (near National Park Inn) typically:
- Opens at 9:00 am
- Closes uphill traffic ~3:00 pm
- Closes downhill traffic ~4:00 pm
- From the gate, it’s about 25–30 minutes to the Paradise parking lot
Translation:
If the downhill gate closes at 4:00 pm, you need to be leaving Paradise by about 3:30 pm. Always check the official park page the morning of your visit — times vary by day and conditions.
Season Timing (Paradise ≠ Normal Winter)
Paradise has snow much longer than most places:
- Snow-covered typically: October through May and beyond
- Best snowshoe window: late March through May
- Longer daylight (post–Daylight Saving Time)
- More stable weather
- Easier driving conditions
- Still deep snow coverage
This overlaps perfectly with the ideas in my pillar on the art of the shoulder-season hike, where spring snowshoeing often beats mid-winter conditions.
Choosing the Right Day
This is not a place to “just go and see.”
I strongly recommend:
- Clear or mostly clear forecast
- No active snowfall
- Good visibility of the peak
- Checking webcams before leaving
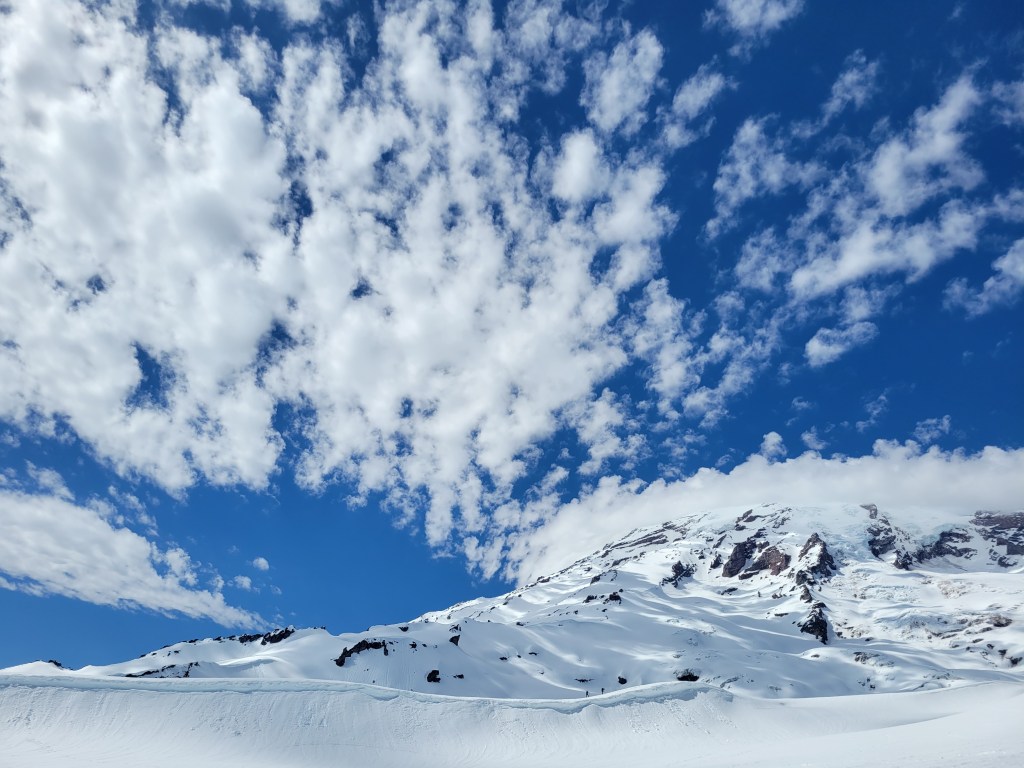
Rainier is its own microclimate, and whiteouts are common. If visibility is poor, the experience — and safety — drops significantly.
Snowshoes vs. Traction

Your gear choice depends on recent snowfall:
- Snowshoes recommended if:
- Fresh snow fell in the last few days
- Trails are soft or unconsolidated
- Boots + traction (microspikes)may work if:
- Trails are well-packed
- Snow is older and firm
- You have prior snow-hiking experience
When in doubt, bring snowshoes. You can always carry them and switch if conditions change.
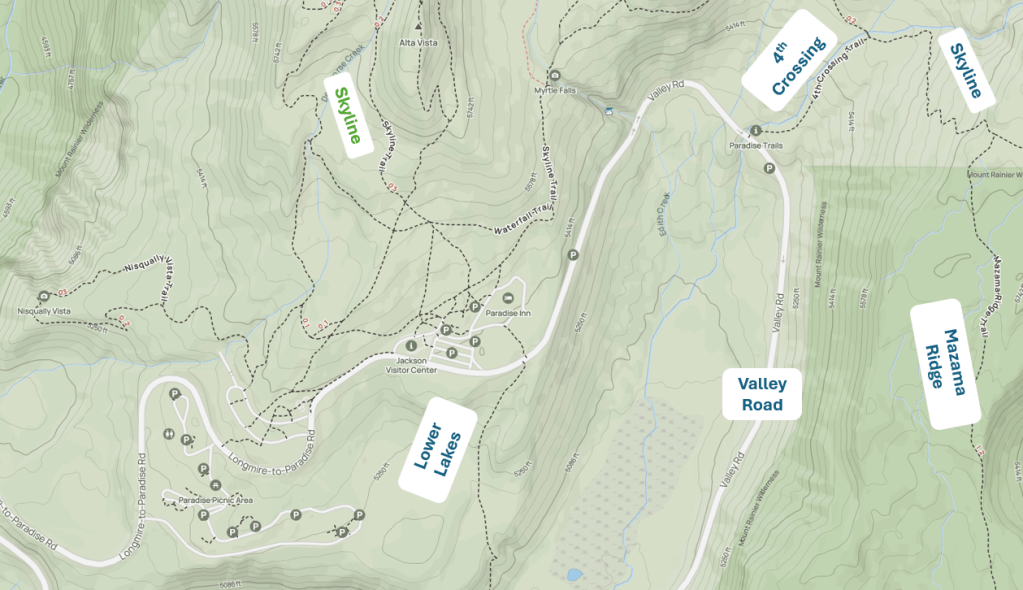
Route Options from Paradise
Paradise offers two very different snowshoeing experiences. Neither is “better” — they just suit different goals.
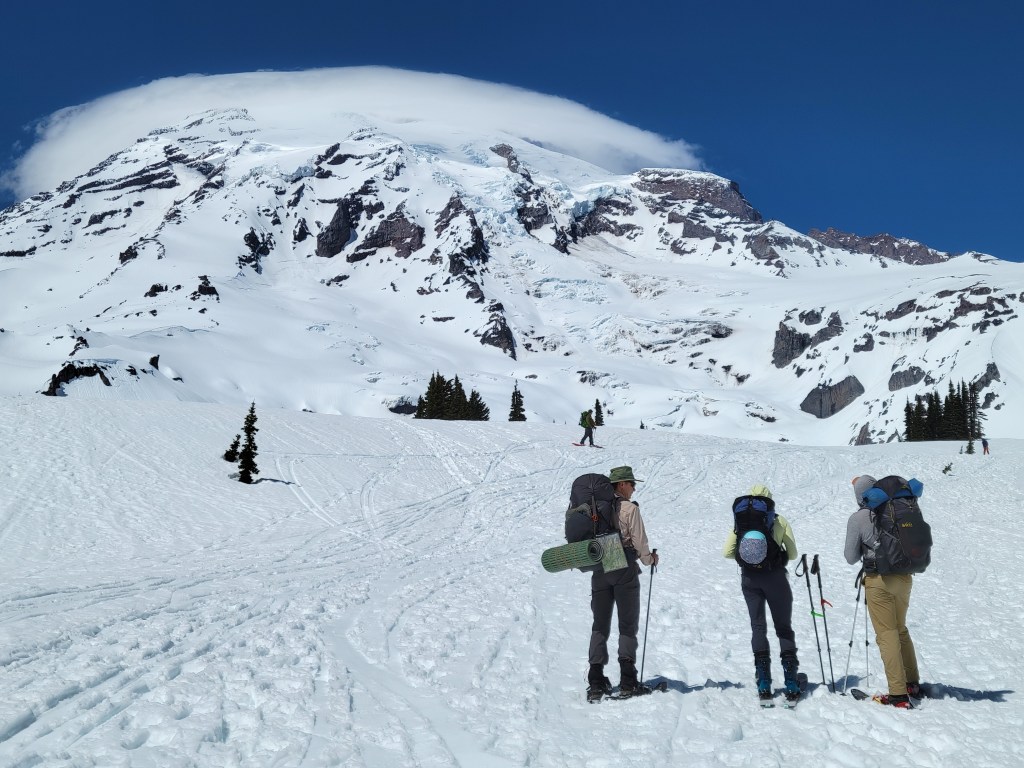
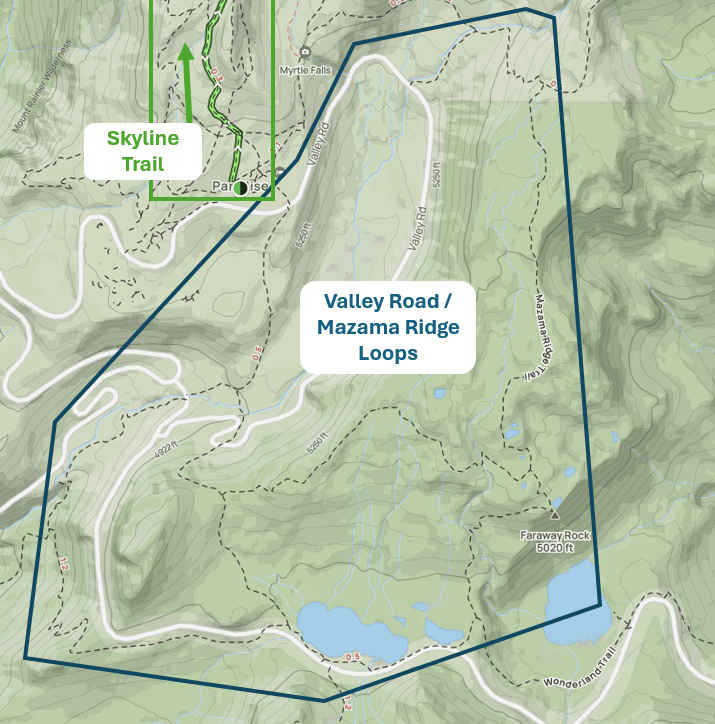
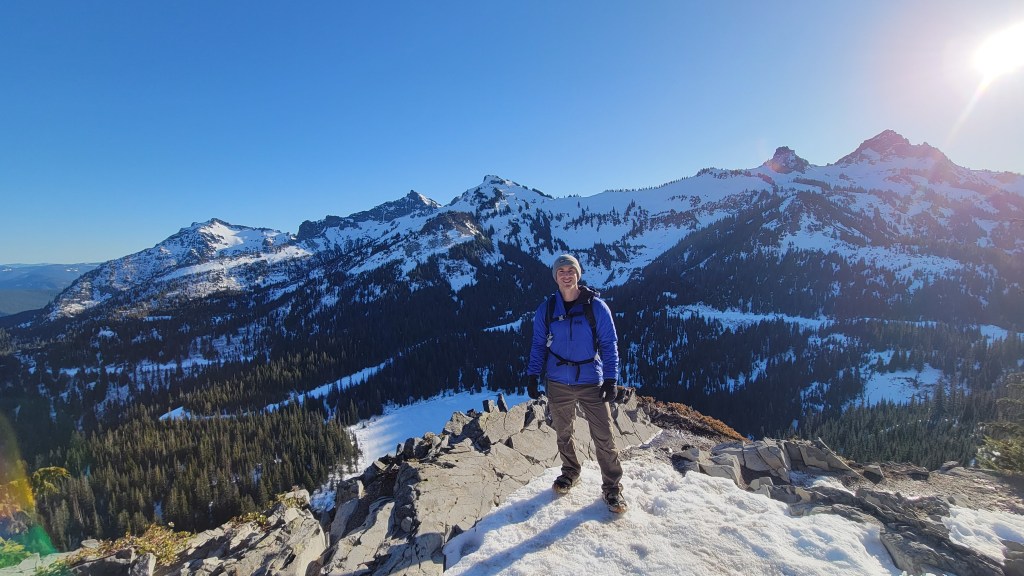
Option 1: Skyline Trail → Panorama Point (Out & Back)
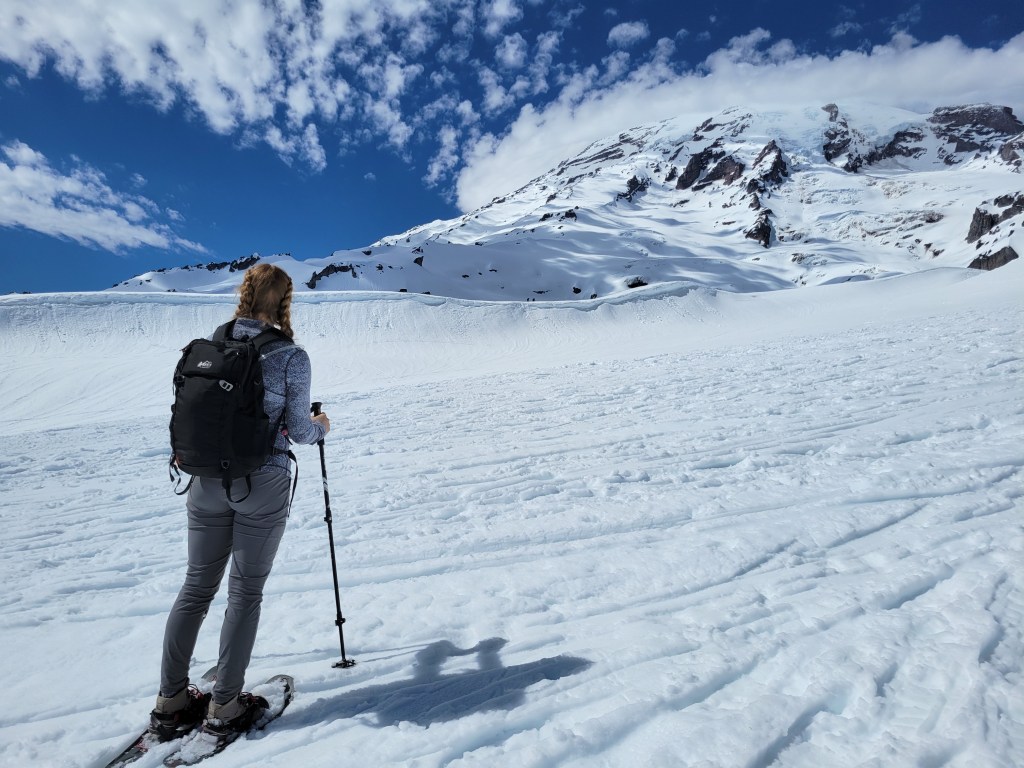
This is the classic uphill snowshoe from Paradise.
- Start near the (winter-closed) visitor center
- Ascend open snowfields following the general Skyline alignment
- Typical turnaround: Panorama Point
What this route is like:
- Wide open alpine terrain
- Continuous elevation gain
- Big views as you climb
- Fewer trees, more exposure
- Usually retraced on descent
This option feels closest to an alpine mountaineering experience without technical gear and is ideal if your goal is elevation and sweeping views.
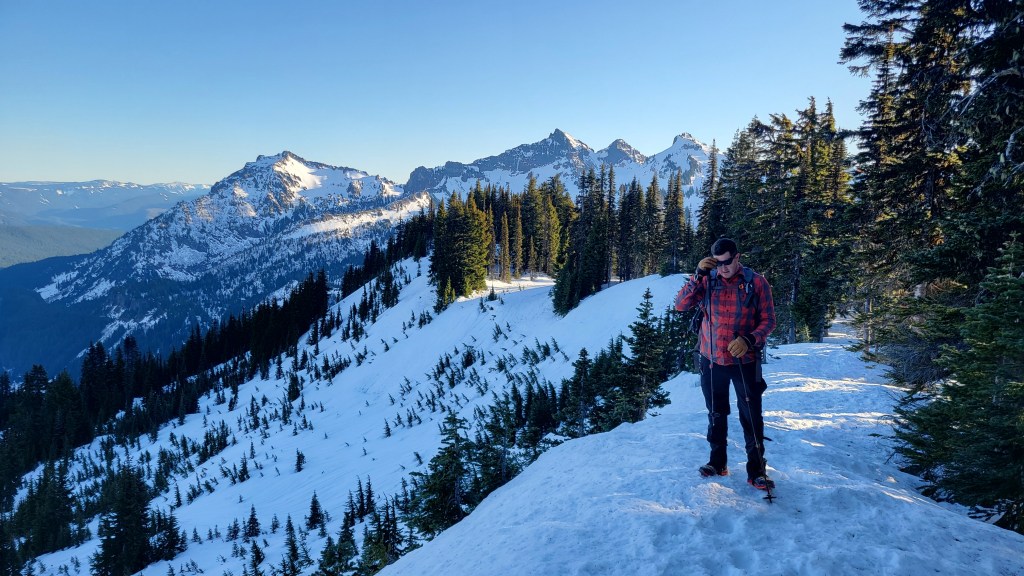
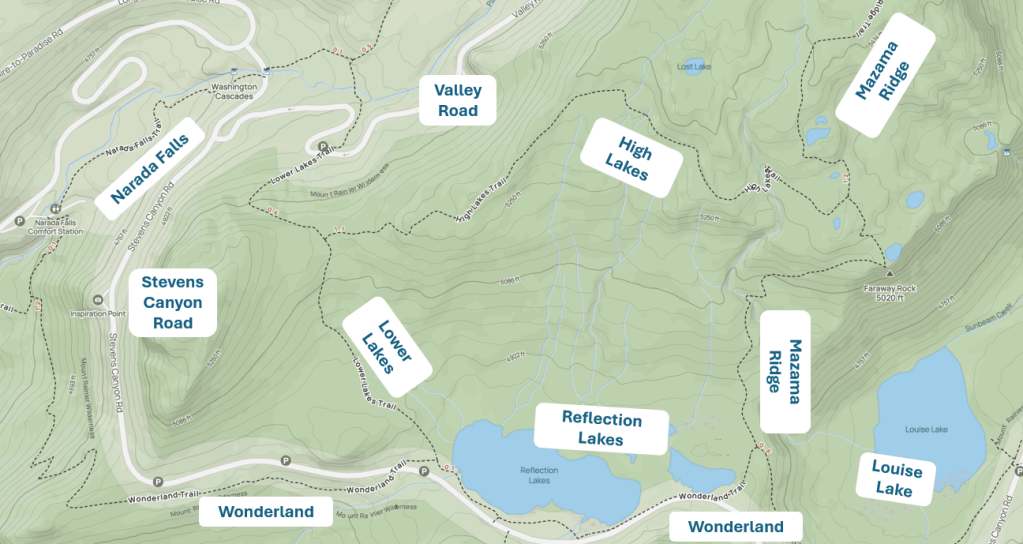
Option 2: Valley Road → Mazama Ridge Loop System
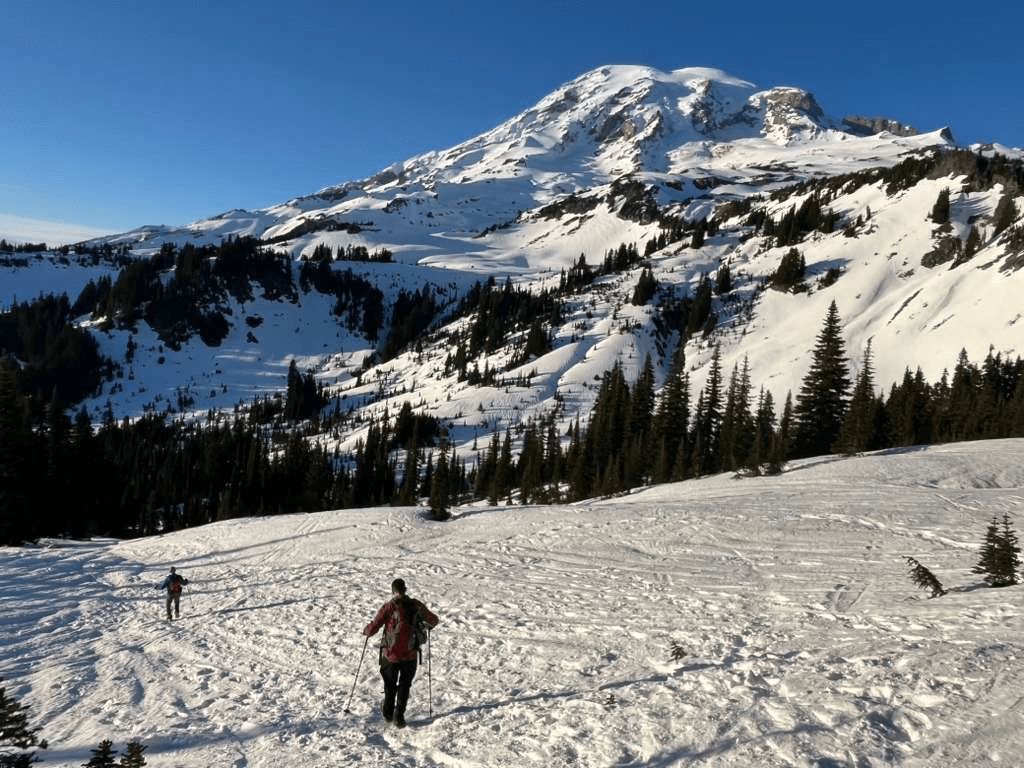
If you want more variety, solitude, and flexibility, this is my favorite option.
Starting downhill from Paradise:
- Follow the snowed-over Valley Road
- From there, you can mix and match:
- 4th Crossing (steep, scenic creekside connector)
- Mazama Ridge Trail to Faraway Rock
- High Lakes Trail / Lower Lakes Trail
- Wonderland Trail segment along the southern shore of Reflection Lakes (snow-covered basins in winter)
- Further segments of the Wonderland Trail
- Narada Falls Trail
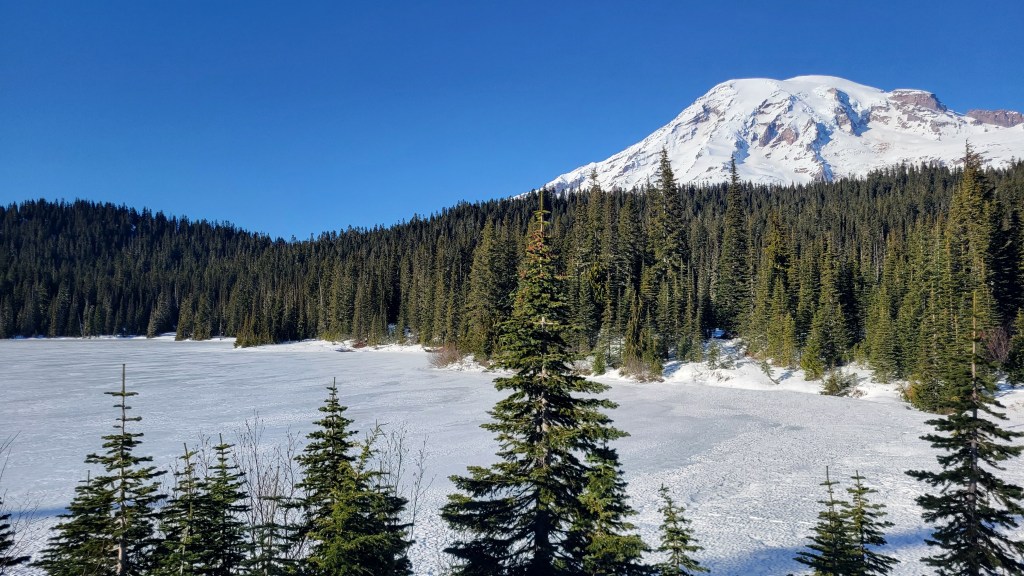
This area offers:
- Rolling terrain instead of one long climb
- Forest, ridge, and open snowfield variety
- Views of Rainier for much of the return
- Excellent solitude compared to Skyline
Faraway Rock, accessed via Mazama Ridge, is one of the highlights.
Safety Notes (Even for Easy Days)
- Stay aware near creek crossings and lake edges
- Snow can collapse near water
- Keep your group within sight or earshot
- Carry:
- Extra layers
- Headlamp
- Sunglasses & sunscreen
- Be conservative — conditions change fast at Rainier
How This Fits With Other Guides
If you’re trying to avoid crowds, this destination shines when combined with:
- Shoulder-season timing
- Weekday visits
- Late-day “second shifting”
See my pillar on avoiding crowds while hiking near Seattle for broader strategy, and my guide on sunset hiking if you’re planning a late-afternoon outing (keeping gate closures in mind).
Simple Route Combination Guide
| Goal | Suggested Route |
|---|---|
| Short & Easy | Valley Road out-and-back |
| Moderate Variety | Valley Road → 4th Crossing → return |
| Scenic Loop | Valley Road → Reflection Lakes → Mazama Ridge → 4th Crossing |
| Big Views & Elevation | Skyline Trail → Panorama Point |
In winter, trails are often snow-covered and unsigned — use a navigation app to confirm your general alignment and stay on well-tracked routes.
Quick Facts & Trail Reference
Location: Paradise, Mount Rainier National Park
Typical Snow Season: October–May
Best Timing: Late March–April (bluebird days)
Difficulty Range: Beginner to Moderate (route dependent)
Required Gear: Snowshoes or traction depending on conditions
Chains: Carrying chains is required in winter (even if not used)
Trails Referenced (Winter Alignment)
- Skyline Trail (Paradise → Panorama Point)
- Valley Road
- Mazama Ridge Trail
- Fourth Crossing (connector)
- Reflection Lakes routes (High / Low Lakes area — snow basins in winter)
- Wonderland Trail (Paradise segment) — overlapped by winter routes
- Narada Falls access trails (lower elevation connectors)
In winter, these form a flexible snow-covered trail network rather than discrete signed paths.
