
Camp Muir is a special hike.
It is grueling, highly weather-dependent, and season-dependent. It sits right on the edge of mountaineering — without quite crossing over. You don’t need technical mountaineering gear or formal mountaineering training to reach Camp Muir, but this is still a hard, advanced hike that is not for everyone.
For those who are prepared and up for the challenge, the rewards are tremendous.
This article covers hiking from Paradise up to Camp Muir and back. Summiting Mount Rainier is a separate topic entirely.
Camp Muir also appears in my broader decision guide:
Best Hikes in Washington by Season — a judgment-first overview of when hikes actually make sense
https://dangenda.com/2026/01/05/best-hikes-in-washington-by-season/
The Basics (So You Know What You’re Getting Into)
- Start: Paradise (Mount Rainier National Park)
- End: Camp Muir
- Elevation at Camp Muir: ~10,080 feet
- Distance: ~9 miles round-trip
- Elevation gain: ~4,600–4,700 feet
Camp Muir is the base camp used by climbers attempting to summit Mount Rainier. Going beyond Camp Muir requires mountaineering permits, proper gear, and training (or a guide). This hike stops at Camp Muir — and that boundary matters.
Seasonality: Summer Only
This is not a four-season hike.
I strongly recommend doing Camp Muir in the summer, when:
- daylight is long
- temperatures are warmer
- snow conditions are stable and consolidated
Even in summer, conditions can be cold, windy, and intense higher up. Mount Rainier’s summit is snow-covered year-round, and you are gaining serious elevation on this hike.
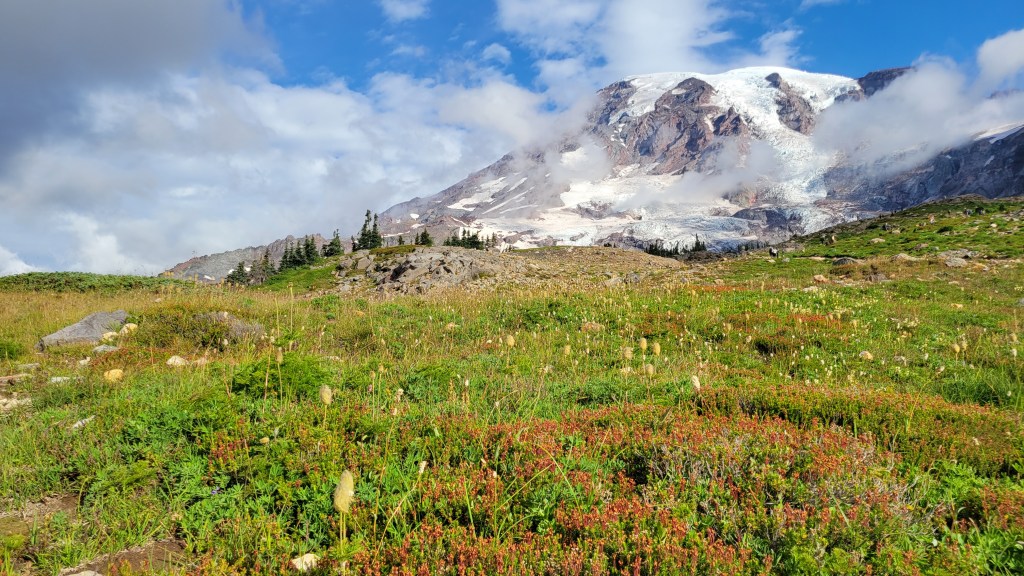
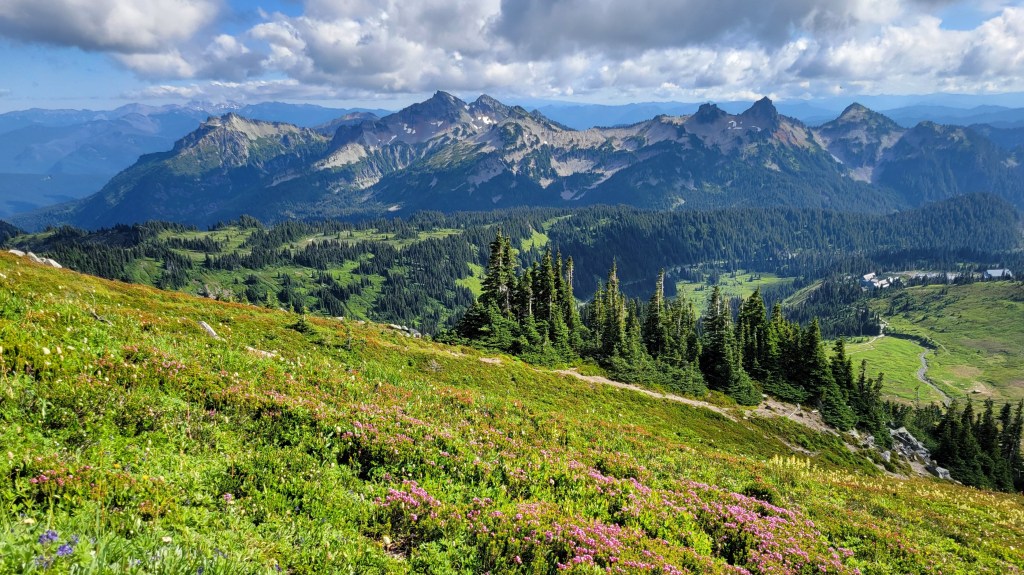
A major bonus of summer is that you also get wildflowers and flowing water at the lower elevations near Paradise before the terrain turns fully alpine.
From Paradise to the Real Start of the Hike
The trail begins innocently enough at Paradise — one of the most popular areas in Mount Rainier National Park. Expect crowds here on both weekends and weekdays in summer.
The route follows the iconic Skyline Trail / Skyline Loop for the first portion. This section is beautiful and highly trafficked, with:
- alpine creeks
- waterfalls
- wildflowers
- occasional marmot sightings
This early stretch is a gift — enjoy it, but don’t let it lull you into underestimating what comes next.
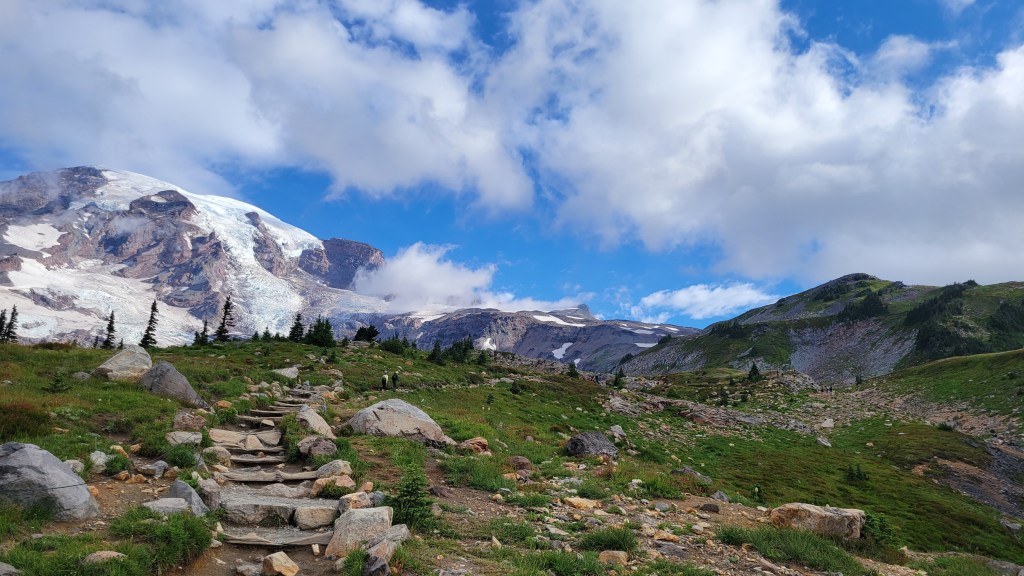
Near the high point of the Skyline Loop, you’ll see a signed junction pointing toward Camp Muir. This is the moment where the hike changes character. Most people stay on Skyline. Very few take the turn uphill.
Once you do, the real adventure begins.
Leaving Skyline: Wind, Snow, and Commitment
After leaving the Skyline Trail, conditions often become windier, though the wind can come and go as you ascend.
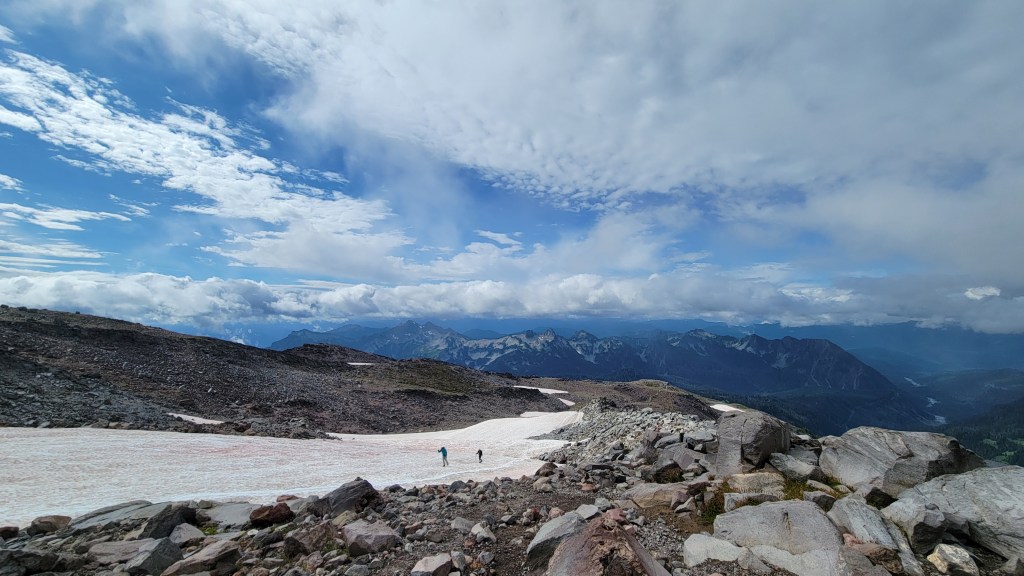
Shortly after, you’ll begin encountering snowfields. At first, these may be intermittent — snow broken up by rocks and dirt. As you continue upward, the snowfields become persistent and unavoidable.
Expect snow for roughly the final two miles of the ascent.
By this point, the traditional trail effectively disappears. This becomes a semi make-your-own-route experience. Navigation apps are helpful, and I strongly recommend staying close to the mapped route, even though you’ll have some freedom to choose your line.
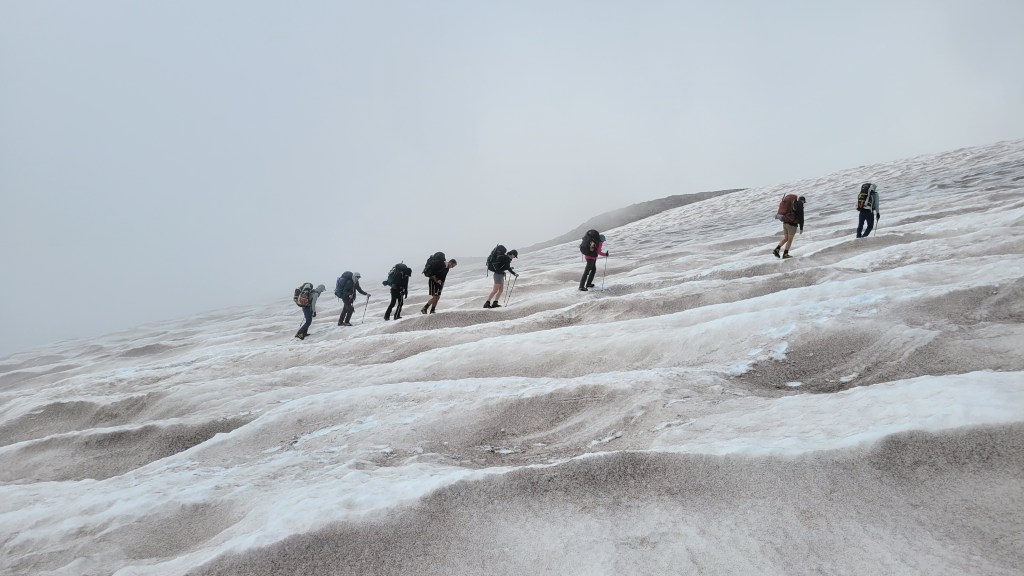
You may also encounter mountaineering groups heading up with much larger packs and significantly more gear as they prepare to overnight at Camp Muir. Don’t be alarmed by the difference — your objective is different, and that’s okay.
Snow Travel and Gear Judgment
Summer snow on this route is typically:
- consolidated
- not fresh powder
- not deep enough to require snowshoes
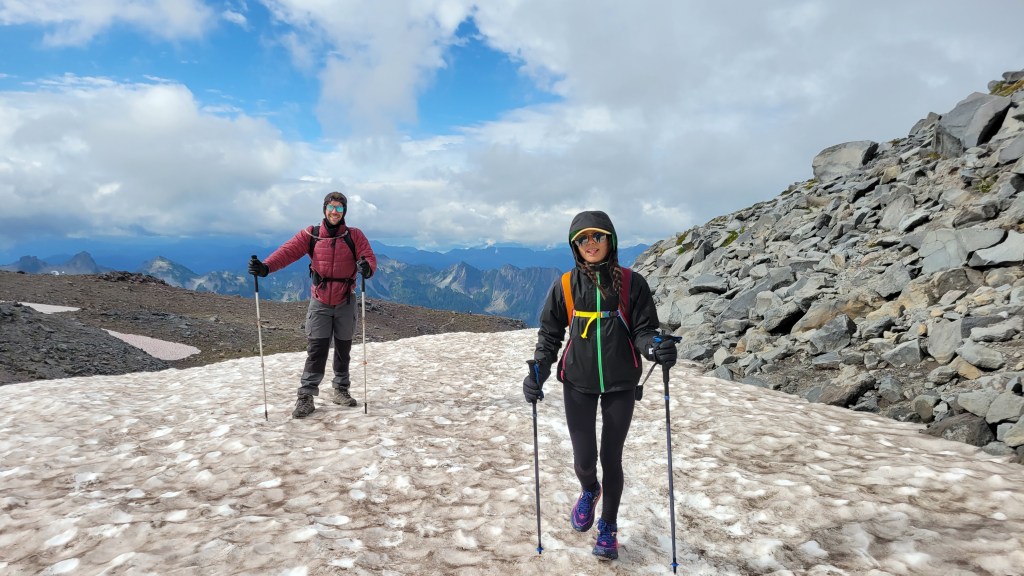
Many people hike Camp Muir in summer without snowshoes. Instead, I strongly recommend:
- waterproof hiking boots
- traction devices (spikes or crampons that attach to your boots)
Traction makes this hike dramatically safer and more enjoyable.
Prior experience hiking on snow is highly recommended. This is not the place to learn how snow travel feels for the first time.
Weather, Visibility, and Layering Strategy
If you have flexibility, wait for a day with:
- no precipitation forecast
- relatively clear or partly sunny conditions
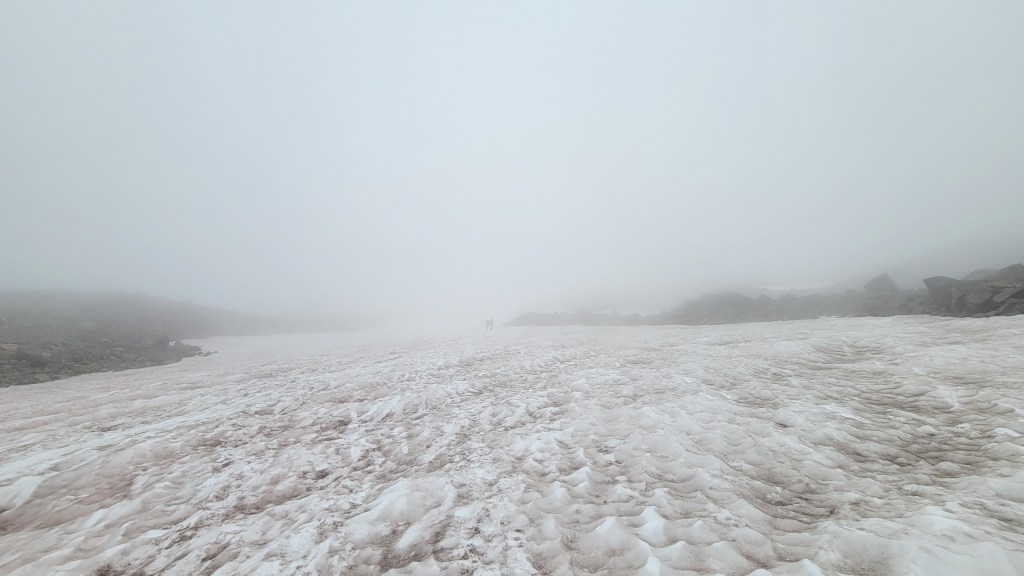
That said, Mount Rainier is its own microclimate. Clouds frequently play hide-and-seek with the peak. Intermittent clouds are not a deal-breaker.
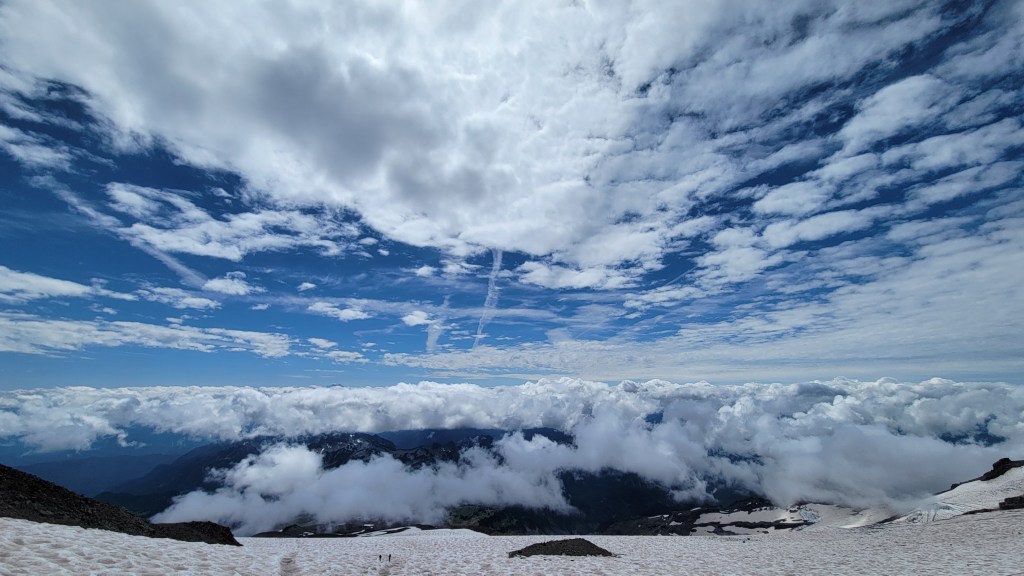
In fact, ascending through the clouds and emerging above them can be an unforgettable experience. Just remember that visibility can drop quickly, and conditions can change fast.
Layering is essential:
- it may be hot at Paradise
- colder and windier on the snowfields
- cold again at Camp Muir
Bring:
- multiple layers
- a beanie or warm hat
- sunglasses
- sunscreen
Even on cool days, sun exposure at elevation is intense.
Group Discipline and Safety
Camp Muir is much safer as a group hike.
If clouds roll in or visibility drops:
- stay within eyesight if possible
- at minimum, stay within earshot
Avoid group separation. If someone needs assistance, it’s far better to already be together than to try to regroup later. Do not rely on cell phone coverage.
Judgment and discipline matter here as much as fitness.
The Final Push: Otherworldly and Deceptively Hard
The final climb through the snowfields can become a slog — even in good conditions. It is physically demanding and mentally grinding, but also deeply otherworldly.
On very sunny summer days, it can get surprisingly hot. One piece of gear I strongly recommend is a sun hoodie — a lightweight, long-sleeve layer with a hood. It provides excellent sun protection and often keeps you cooler than short sleeves.
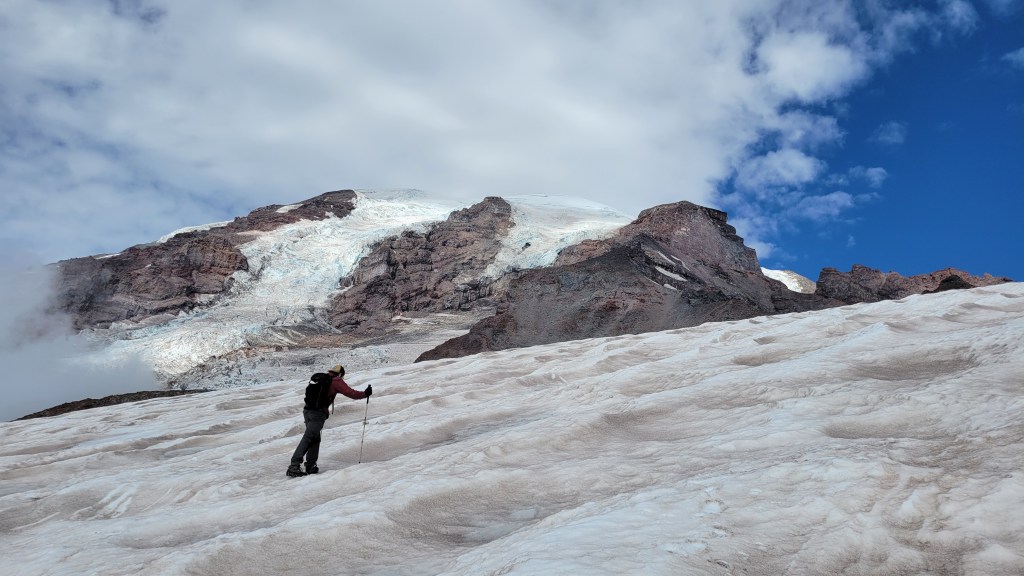
As Camp Muir comes into view, it will look shockingly close. Mount Rainier’s summit will appear right there. You may genuinely wonder why you can’t just keep going.
You can’t — and shouldn’t.
Beyond Camp Muir, the terrain becomes technical and dangerous, requiring mountaineering gear, training, acclimatization, and usually an overnight stay. Even reaching Camp Muir is deceptively grueling, largely due to altitude.
The air is thinner. Each step feels heavier. Slow your pace. Drink plenty of water. Take breaks. Respect how elevation affects your body.
At Camp Muir: Pause and Take It In
By the time you reach Camp Muir, you’ll likely be tired — and exhilarated.
You’ve separated yourself from the casual hiker. You’ve earned the right to be here.
This is the place to:
- take photos
- look around
- enjoy the silence
- rest
- snack
- use the restroom facilities
Sit for a while. Take it in. This is a rare place, and a real accomplishment.
The Descent: Back to Reality
Eventually, you’ll begin the descent. Going down is obviously much faster and easier than going up; though, you must still take care on the snow fields. If you’re feeling frisky, there are definitely opportunities to glissade or moreso “butt sled” down the steeper snow sections. Just be extra careful not to hurt yourself, and be aware that the outside (and inside) of your pants are likely going to get wet! If you’re not modest, it’s not the worst idea to bring a change of hiking pants / shorts so you can find a “private” part of the trail to change in before rejoining the high traffic Skyline loop.
As you rejoin the Skyline Trail, you’ll feel yourself gradually returning to the world you left behind. The crowds return. The terrain softens. Reality resumes.
From here, you can either:
- complete the rest of the Skyline Loop, or
- retrace your steps back toward Paradise
There are multiple options, and by this point, it’s mostly downhill.
You may find yourself shedding layers. If you’re prone to blisters, I recommend:
- thicker socks
- possibly a liner sock
- blister bandages as insurance
Your feet will thank you.
Final Judgment
Camp Muir is not casual. It is not trendy. And it is not a box to check.
It is a demanding, serious hike that rewards preparation, patience, and humility. You don’t need to summit Mount Rainier to earn respect here — reaching Camp Muir is an achievement in its own right.
If you choose the right day, bring the right mindset, and respect the mountain, this hike will stay with you long after your legs recover.
Author: Dan
Experience: Summer
Default lens: Summer
Last reviewed: January 2026
